At Valley Marble & Tile, we pride ourselves on delivering unparalleled craftsmanship and sophistication through our premier countertop fabrication services.

DIY Tile Installation Common Mistakes to Avoid
Tile installation can be a rewarding project, adding beauty and value to your home. Whether you’re tackling a bathroom renovation, kitchen backsplash, or flooring upgrade, doing it yourself can save money and give you a sense of accomplishment. However, DIY tile installation comes with its challenges, and avoiding common mistakes is crucial to ensure a successful outcome. In this guide, we’ll explore the pitfalls to watch out for and provide tips to help you achieve professional-looking results while keeping costs in check.
If you’re considering outsourcing your tile installation project, our professional Tile Installation services offer expertise and convenience. With years of experience and a commitment to quality, our team ensures seamless installations, whether it’s for your bathroom, kitchen, or flooring needs. By choosing our Tile Installation services, you can rest assured that your project will be completed efficiently and with attention to detail, leaving you with stunning results that enhance the beauty and value of your home.
1. Lack of Proper Planning
Before diving into tile installation, it’s essential to plan meticulously. This involves measuring the space accurately, selecting the right type and quantity of tiles, and choosing the appropriate adhesive and grout. Failure to plan adequately can lead to overestimating or underestimating materials, resulting in unnecessary costs or delays. Consider the secondary keyword “tile installation cost” as you budget for your project, ensuring you have a clear understanding of expenses from start to finish.
2. Ignoring Surface Preparation
One of the most common mistakes in tile installation is neglecting proper surface preparation. Whether you’re installing tiles on walls or floors, the surface must be clean, smooth, and level. Any imperfections or debris can compromise the adhesion of the tiles and lead to issues down the line. Take the time to clean and prime the surface, addressing any cracks or unevenness before proceeding with the installation. This step is especially crucial in bathroom tile installation, where moisture and humidity can exacerbate problems.
3. Poor Tile Layout
The layout of your tiles can significantly impact the overall aesthetic and functionality of the space. Avoid the temptation to start tiling from the middle of the room or arbitrarily placing tiles without consideration for symmetry and alignment. Instead, take the time to plan your layout carefully, accounting for any obstructions, such as cabinets or fixtures. Consider the secondary keyword “bad penny tile installation” as a cautionary reminder to avoid haphazard patterns that detract from the visual appeal of your project.
If your tiles are showing signs of wear and tear or have been damaged, our Tile Repairing services are here to help. Our experienced team specializes in repairing all types of tile surfaces, including floors, walls, and countertops. From minor cracks to extensive damage, we have the expertise to restore your tiles to their former glory efficiently and affordably. With our Tile Repairing services, you can prolong the lifespan of your tiles and maintain the integrity of your space. Let us handle the repairs so you can enjoy a flawless and beautiful tile surface once again.
4. Incorrect Cutting and Placement
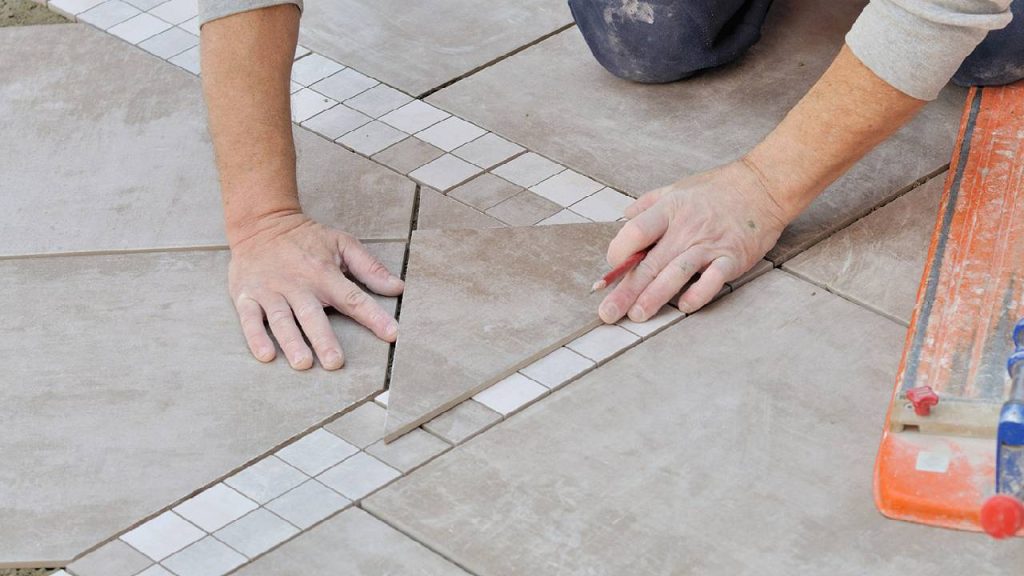
Achieving clean and precise cuts is essential for a professional-looking tile installation. Using the right tools, such as a tile cutter or wet saw, can make the process more manageable and ensure accurate results. Pay attention to the secondary keyword “carpet tile installation,” as cutting tiles incorrectly can lead to wasted materials and increased costs. Additionally, take care when placing tiles to maintain consistent spacing and alignment, using spacers if necessary to achieve uniformity.
5. Rushing the Grouting Process
Grouting is the final step in tile installation and requires patience and attention to detail. Avoid the temptation to rush through this process, as improper grouting can detract from the finished look of your project. Take the time to mix the grout to the proper consistency and apply it evenly between the tiles, ensuring complete coverage. Use a grout float to press the grout into the joints, then remove any excess with a damp sponge. Properly sealed grout not only enhances the appearance of your tiles but also protects them from moisture and stains.
Conclusion
By avoiding these common mistakes, you can achieve professional-looking results in your DIY tile installation project. Remember to plan carefully, prepare the surface thoroughly, and take your time with each step of the process. Consider the secondary keywords “bathroom tile installation” and “drain tile installation” as you tailor your approach to the specific needs of your project. With attention to detail and a willingness to learn, you can transform your space with beautiful and durable tile installations that stand the test of time.
Other Services
Our Service Area
Salem | Albany | Corvallis | Portland | Tigard
