At Valley Marble & Tile, we pride ourselves on delivering unparalleled craftsmanship and sophistication through our premier countertop fabrication services.

Easy and simple steps for a professional DIY ceramic tile installation
Ceramic tiles are a great way to increase the aesthetics and looks of your home. These are cost-effective, durable, and easy to install.
As they are relatively easy to install, many people decide to do a DIY ceramic tile installation. It’s a great idea but you can easily mess it up if you are not prepared and are not aware of the important steps.
It’s not just simply laying out the mortar and slapping one tile after another. The process requires attention to detail and there are some other technicalities involved.
There are 2 types of ceramic floors. One is a floating ceramic tile floor and the other is the simple one. We will be discussing the second one in this article.
Also, this article will cover all the general industry practices and tips. Knowing all these will help you to also do the installation of other types of tiles. Especially, you will also be able to do a porcelain floor tile installation. It’s basically the same thing but instead of ceramic tiles, you will be using porcelain. And you will also be able to do a ceramic wall tile installation.
So, without any further ado, let’s start with the step-by-step process.
Get proper safety gear
During your tile installation, you will be dealing with a lot of cement, mortar, and powerful adhesives. These materials can be dangerous and can cause injuries.
Especially the cement and mortar are highly alkaline which can cause severe damage to your skin cells. Make sure that you get safety shoes and gloves to safeguard sensitive areas on your skin.
Getting a cement board
The first thing is to make sure that you have a proper cement board in place. You cannot start applying the tiles on your subfloor as it will damage the structure and the tiles will not last for long.
Apply latex mortar on your subfloor and apply it evenly. Place the cement board on top and place it firmly. Repeat the process until all the area is covered. Once done, you can use cement board screws to hold the cement board in place.
It will provide an ideal base for the tiles you are going to install.
Clean the surface
Cleaning the prepared surface is very important. It will ensure that there is no residue or dirt in between which can weaken the bonding between the tile and the mortar you will be applying.
Use mild cleaning solutions and chemicals. Make a solution with water and use a mop to clean the surface thoroughly. Give enough time for it to dry before starting the installation.

Start from the mid
Laying down the tiles from the middle is the best option in the majority of the cases. You will be able to create a pleasant effect in the middle of the room. With this method, you will avoid any irregularities in the middle.
All the corners and sides that require cutting will be easily done once you have covered the center with uniform and complete tiles.
Find the center point of the area
To find the center point of your room, you will need a string and chalk. Place the string just like we have the Y-axis and X-axis on the geometrical plane. It will create a plus sign. Go to the middle and mark the plus sign at the point where the two strings intersect each other.
There you have it, the pinpoint center part of your room. You will place the first tile Installation in the middle of this plus sign.
Start laying mortar and tiles
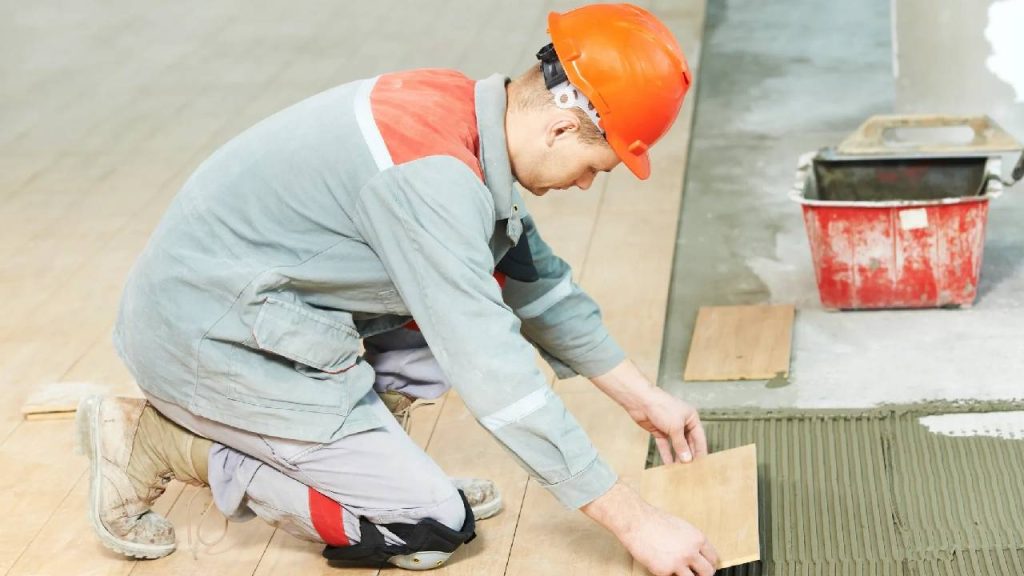
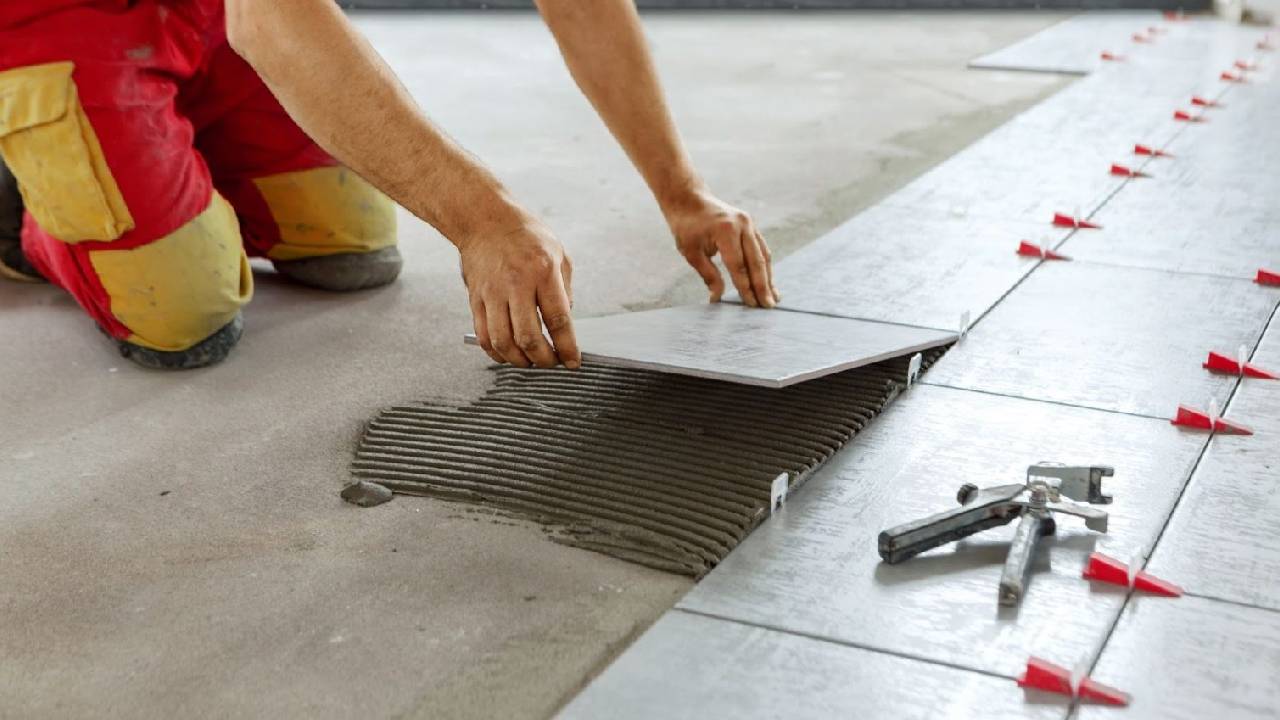
Now start laying down patches of mortar on the surface. Level it out using a specialized leveling tool. Place the tile gently on the mortar and press it with your fingers wide open. This will apply an even force on the tile Installation which will result in proper placement.
Make sure that you prepare and apply the mortar in batches as it will dry up fast. Normal mortars will start to dry up in 10 minutes and it will make the installation very difficult. So, keep in mind the amount you prepare and try to place the tiles as soon as possible.
Use a grout spacer
Grout spacers are small plus sign pieces that are used to ensure proper placement within the tiles. You will place a plus sign and four tiles will be placed around it. Try to use grout spacers everywhere as this will result in even placement. You can remove them later or use leave-in grout spacers.
Start covering the corners in the end.
As you started in the middle, now you will be left with a boundary of non-covered area. This boundary will have small cuttings and irregularities. There might be small pillars or extensions along the wall.
You will have to consider all these details in this final stage of tile placement. Use a pencil or a marker to mark all the tiles that need to be cut as per the corners and irregularities.
You will need to rent a tile cutter for a day or can also take the tiles to a professional cutter. Place these tile cuttings along the edges. These tiles are often hidden with lamps, furniture, tables, and other fixtures.
Tile Installation: Apply grout
Apply grout over the tiles to fill up the gaps in between the tiles. Clean the tile from any grout and leave it for at least 3 days. Once properly dried, seal it using a grout sealer.
Your tiles are now perfectly installed and you can use your floor freely.
Conclusion
Installing tiles is not rocket science. Using the above guide, you will be able to install the tiles just like a professional. Along, with good quality tiles, it’s important to use good quality binders and mortar. These adhesives are the things that will keep the tiles in their place. Compromising on the mortar quality can result in loose-fitted tiles and water damage. Also, if you are stuck at a step and don’t know how to proceed, it’s highly recommended to contact your local ceramic tile Installation contractors.
Other Services
Our Service Area
Salem | Albany | Corvallis | Portland | Tigard
